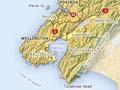
Story: Wellington region
Page 19. All images & media
From page 1 - Overview
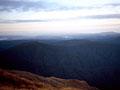

From page 2 - Creation stories and landscape

From page 3 - Climate

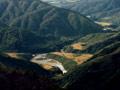
From page 4 - Plants and animals

From page 5 - Early Māori history

From page 6 - European arrival


From page 7 - The struggle to survive: 1840–1865


From page 8 - From town to city: 1865–1899


From page 9 - Boom and bust: 1900–1940
From page 10 - New growth and attitudes: 1940–1975


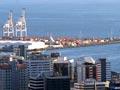
From page 11 - Economic fall and rise: 1976 to 21st century


From page 12 - Population


From page 13 - Government

From page 14 - Māori buildings and marae

From page 15 - Arts and culture


From page 16 - Sport and leisure


How to cite this page
Chris Maclean, Wellington region, Te Ara – the Encyclopedia of New Zealand, https://teara.govt.nz/en/story/17026/media (accessed 15 July 2026).
Story by Chris Maclean, published 3 March 2009, updated 1 August 2015.